A parcel can be in the building and still be hard to find. The usual gap is between the physical parcel, its record and the place where someone last put it. You can keep those three things aligned with a paper register, a spreadsheet or an application.
1. Give every area a purpose
Keep parcels awaiting checks separate from stock that is ready for customer collection. Otherwise, an item can reach a shelf before anyone has finished recording it.
- Intake: parcels awaiting a check or registration.
- Available stock: parcels recorded and stored for collection.
- Oversize and overflow: named locations for items that do not fit the usual shelves.
- Review: damaged, unreadable or disputed items with an issue, a named owner and a next action.
- Return staging: parcels awaiting the appropriate courier handover.
Keep customer returns for shipment separate from uncollected inbound parcels. Mark areas with words as well as colours. Keep access routes and exits clear; follow the shelving manufacturer’s load limits and your workplace procedures rather than choosing a universal stacking height.
2. Name the shelf, then use that name everywhere
Choose short codes that describe stable physical places. For example, A-01 can mean rack A, shelf 01; the next shelf can be A-02. Put the same code on the shelf edge, your storage map and the parcel register.
If compartments need separate identities, define them explicitly, such as A-01-L and A-01-R. Give oversize, review and overflow spaces their own recorded names too. “At the back” is difficult for a new colleague to interpret.
Keep shelf labels visible when the shelf is full. Test the map with a marked training carton: a person unfamiliar with the room should be able to follow the written location without relying on someone’s memory.
3. A parcel number is not a shelf code
The parcel identifier follows the parcel. The shelf code describes its current location. Keep separate fields for the two, and keep the complete identifier, including the courier acronym where used.
Fictional example from the playbook
| Parcel identifier | Recorded location |
|---|---|
| 1554DPD | A-01 · before the move |
| 1554DPD | B-01 · after the move |
Update the location from A-01 to B-01. Do not assign a new parcel number just because you moved the carton.
ParcelDeck’s demonstrated 3 × 2-inch thermal label shows the large parcel number, courier acronym and small ParcelDeck.be branding. That label does not print A-01 or make the parcel number a shelf-location code. Keep the original courier barcode and required shipping information readable.
4. Finish the record before clearing the intake space
Work with one parcel at a time, or a small controlled group in which every record stays paired with its parcel. Complete the courier-required steps in the courier’s own process. An internal register supports your shop routine; it does not replace required courier scans.
- Read the courier label and identify the parcel.
- Create or confirm the shop record, including its full identifier and destination.
- Compare the saved details with the parcel in your hands.
- Attach the matching internal label if you use one, then put the parcel in the recorded place.
If a save appears to fail, search before repeating the entry. If a printer fails, inspect the existing record before creating another number. When you must switch to a waiting customer, leave intake at a clear, identifiable boundary.
5. Make “no unrecorded moves” the visible rule
Record the new location at the time of a move, including a temporary overflow location. With paper records, update the register or move log. With a spreadsheet, update the location field. With an application, use its available location workflow.
If an item is in review, record why, who owns the issue and what happens next. Do not treat a review shelf as unlabelled spare capacity. Follow the courier’s current procedure for overdue or uncollected parcels; age alone is not an instruction to discard or return an item.
6. Use the record to retrieve, then verify the handover
Find the record using the courier’s required collection evidence and your approved matching process. Read the full identifier and location before searching shelves. At the shelf, match the internal label and original shipping label; follow the courier’s collection checks before recording the handover.
If the shelf and record disagree, check recorded moves, overflow, review and return staging. Log the discrepancy instead of marking a parcel collected to balance the list. Keep customer records out of public view and other customers’ parcels out of reach.
At shift handover, identify unfinished intake, unresolved review items, overflow moves and parcels awaiting courier handover. Give each open issue a named owner and a next action.
7. Start with one shelf
You do not need to redesign the whole room at once. Choose one shelf, give it a visible code, add that code to your map and register, and reconcile its contents. Then use the same pattern for the next shelf.
- Every stored parcel has a matching record.
- Every recorded location names a real, labelled place.
- Temporary moves and unresolved issues are visible to the next shift.
- The intake space is clearly separate from available stock.
The useful test is whether another member of staff can follow the record and find the correct parcel. Improve the map, labels or recording routine where that test exposes a gap.
About this guide and the toolkit
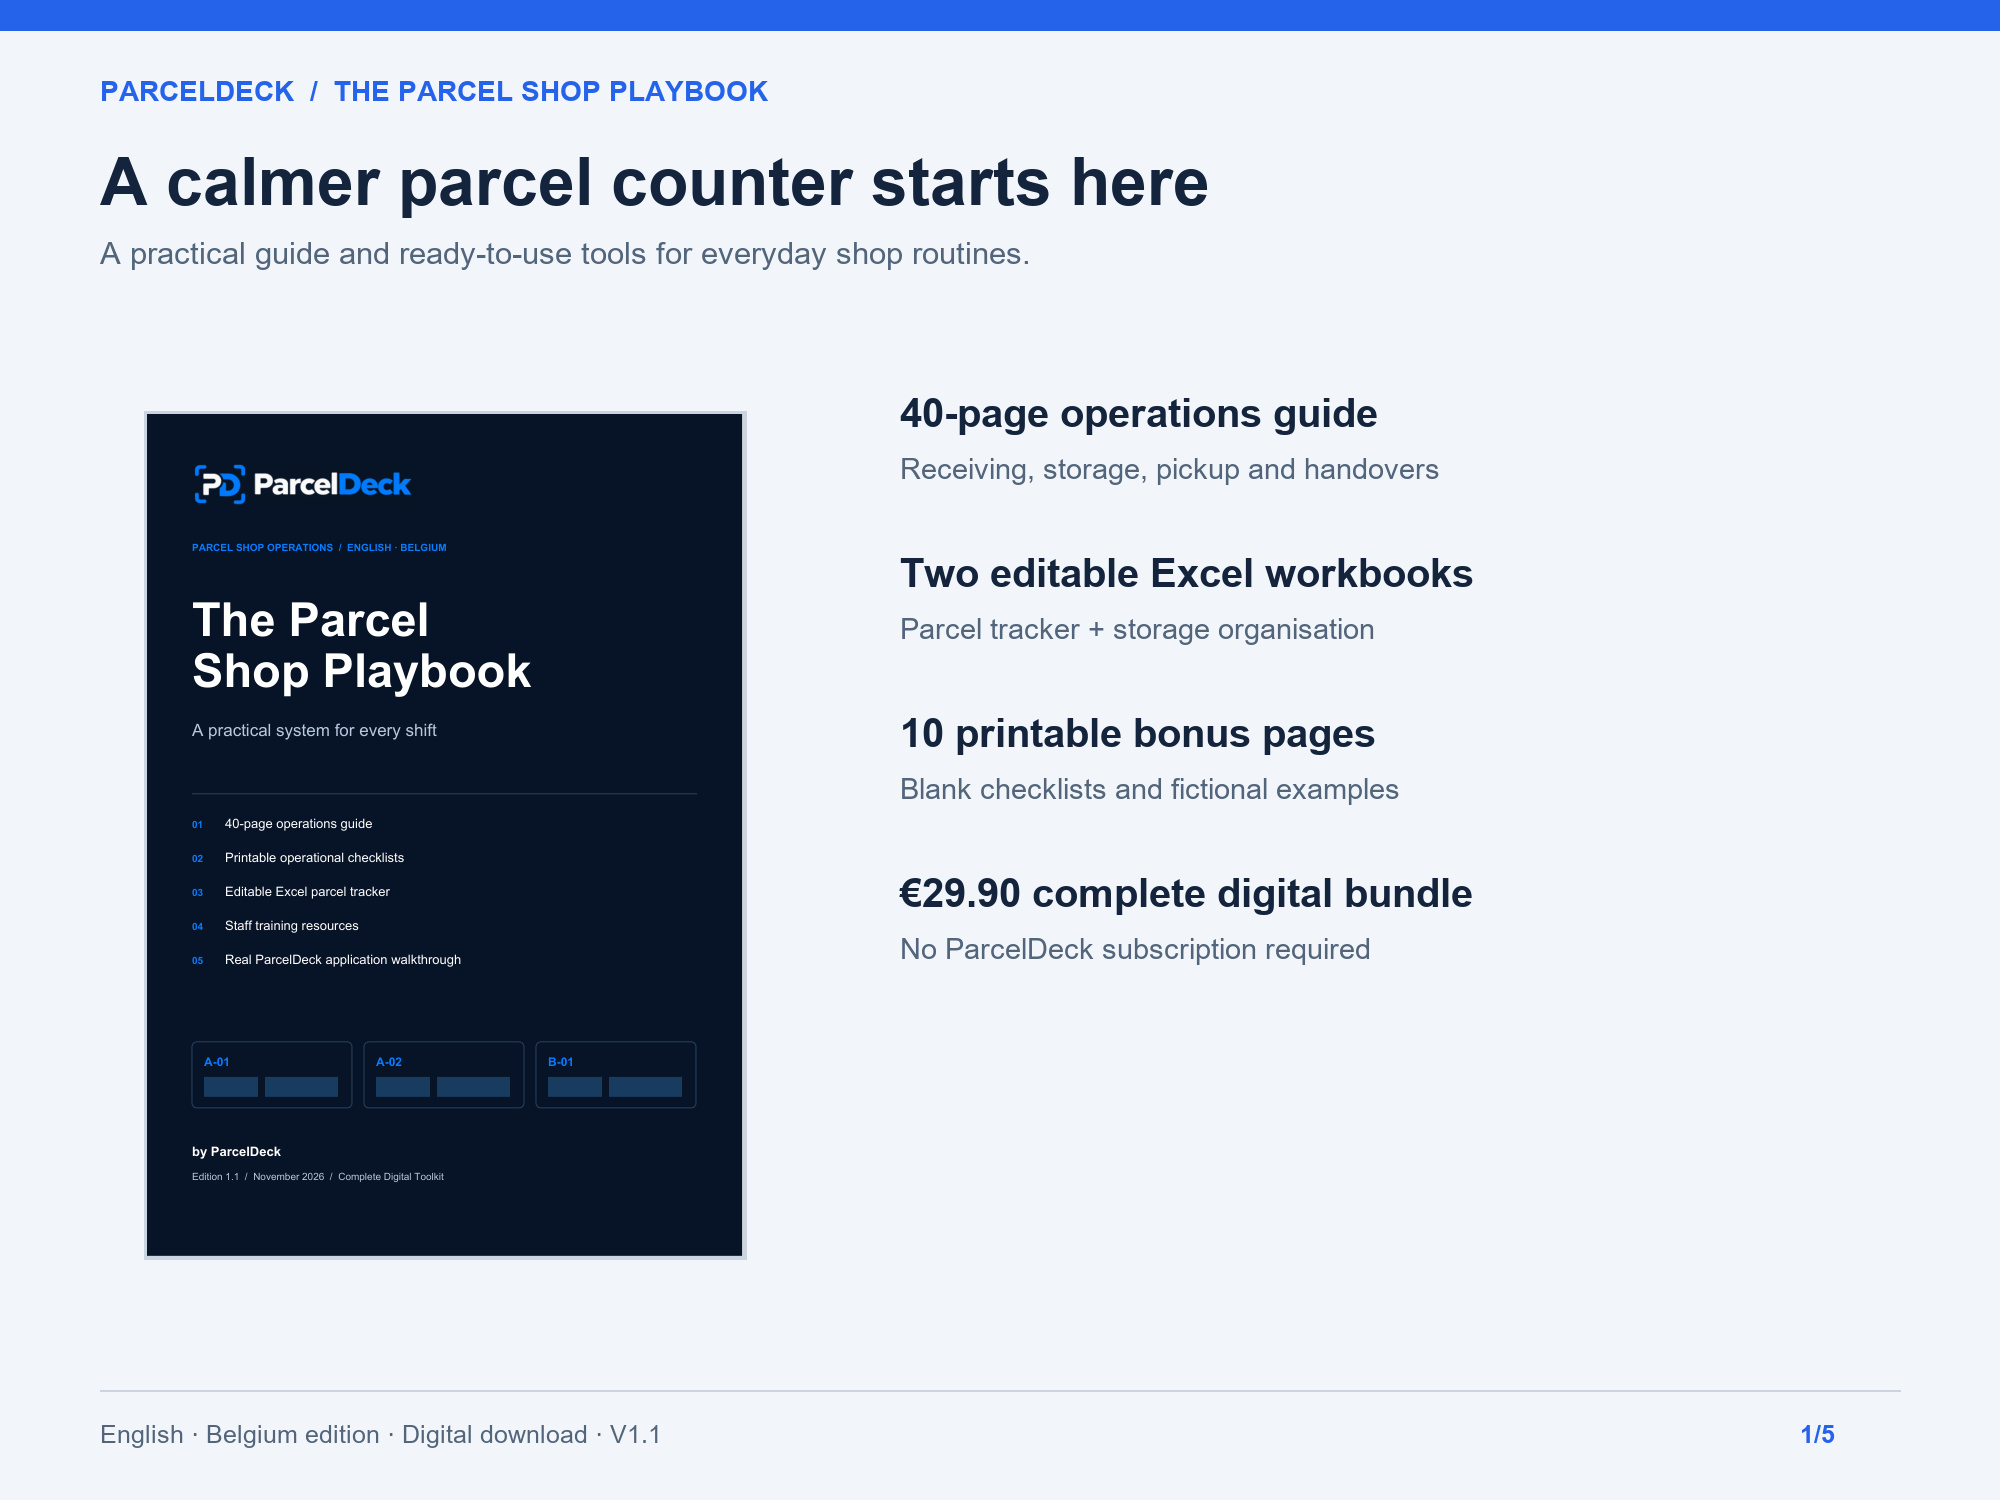
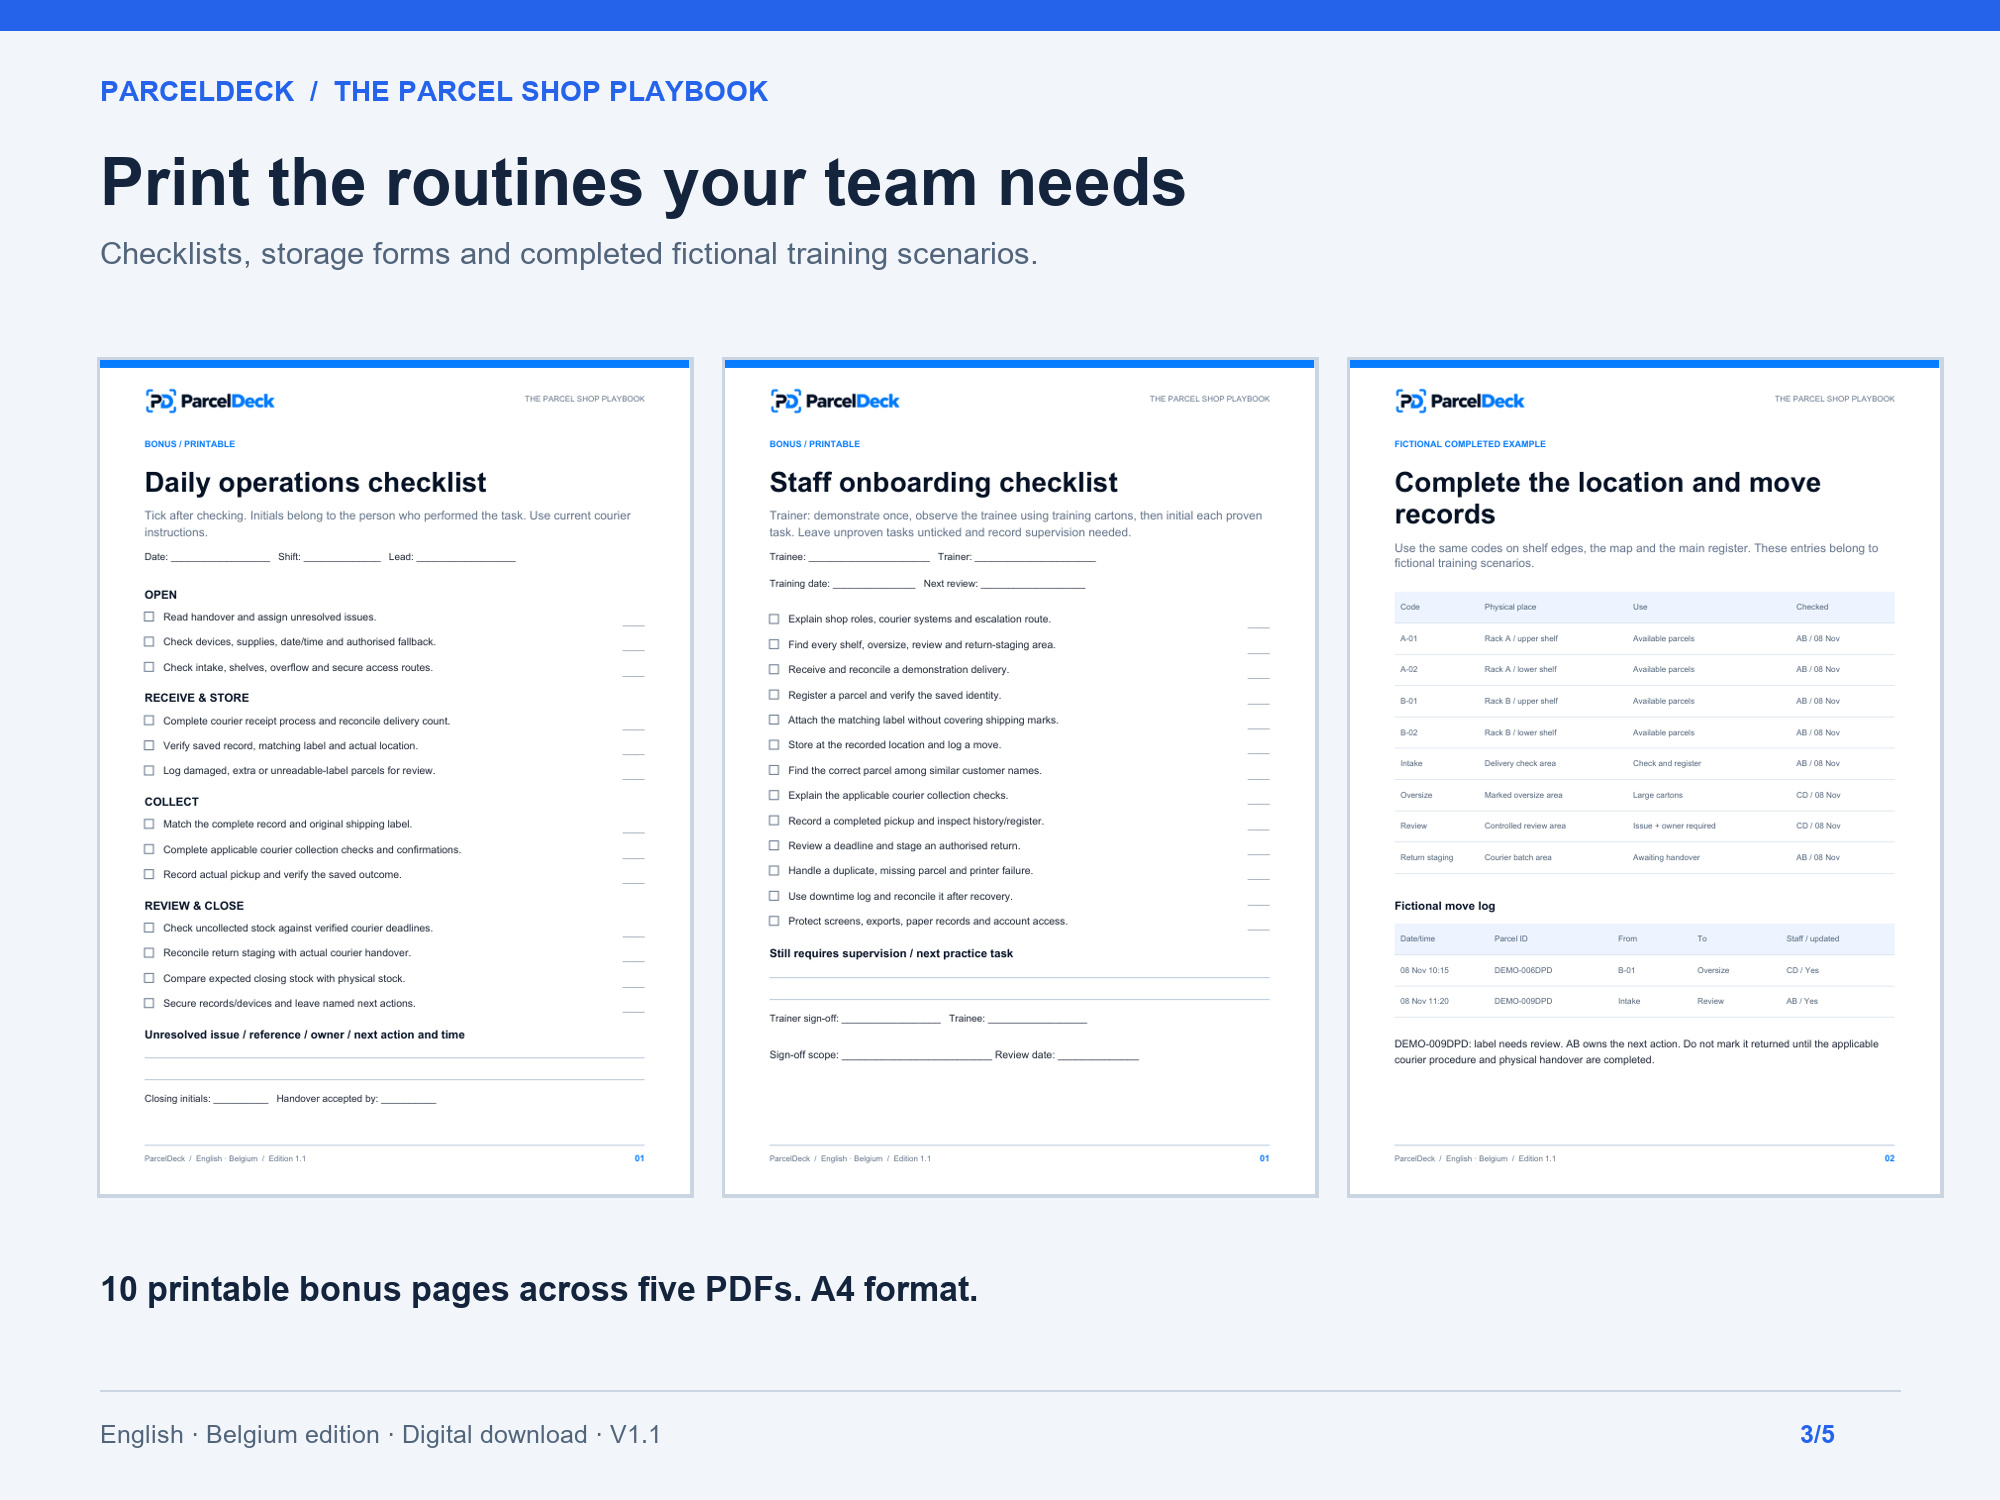
ParcelDeck publishes this article and The Parcel Shop Playbook, and recommends its own optional parcel-shop software. The general routines above work with manual records too. The paid toolkit contains the 40-page guide, two editable spreadsheet workbooks, ten printable bonus pages, a CSV fallback and START HERE instructions. A ParcelDeck software subscription is not included or required.
The toolkit is an English / Belgium edition. It is an independent operating aid, not an official courier manual. The examples do not establish a courier’s current holding period, collection checks or return requirements.